Homework #2
Due: Friday, June 28th at 11:59pm
In this homework, we will start to explore the CUDA execution model by implementing and timming the execution a CUDA program that performs grayscaling on an image.
Peanut Cluster and GPU Partitions
If you are not familiar with submitting jobs to a cluster (i.e., the Peanut cluster) please make sure to watch the following video and read over the SLURM documentation provided by our tech-staff before beginning the assignment:
We will grade all assignments using the Peanut cluster’s GPUs and all programming assignments must work correctly on one of these machines. If you have a NVIDIA GPU installed on your local machine then you can work; however, your program must still work on one of the cluster’s GPU nodes, no exceptions.
You have the option batching your programs to the following cluster nodes
PARTITION AVAIL TIMELIMIT NODES STATE NODELISTgpu-all up 4:00:00 2 idle gpu[2-3]titan up 4:00:00 1 idle gpu3pascal up 4:00:00 1 idle gpu2quadro up 4:00:00 1 idle gpu1
Please be cautious of using titan since it’s been known to have stalling problems so we advise not using it until it’s been reliably fixed.
Creating Your Private Repository
To actually get your private repository, you will need this invitation URL:
HW2 invitation (Please check the Post “HW 2 is ready” Ed)
When you click on an invitation URL, you will have to complete the following steps:
You will need to select your CNetID from a list. This will allow us to know what student is associated with each GitHub account. This step is only done for the very first invitation you accept.
Note
If you are on the waiting list for this course you will not have a repository made for you until you are admitted into the course. I will post the starter code on Ed so you can work on the assignment until you are admitted into the course.
You must click “Accept this assignment” or your repository will not actually be created.
After accepting the assignment, Github will take a few minutes to create your repository. You should receive an email from Github when your repository is ready. Normally, it’s ready within seconds and you can just refresh the page.
- You now need to clone your repository (i.e., download it to your machine).
Make sure you’ve set up SSH access on your GitHub account.
For each repository, you will need to get the SSH URL of the repository. To get this URL, log into GitHub and navigate to your project repository (take into account that you will have a different repository per project). Then, click on the green “Code” button, and make sure the “SSH” tab is selected. Your repository URL should look something like this: git@github.com:mpcs52072-sum24/hw2-GITHUB-USERNAME.git.
If you do not know how to use
git cloneto clone your repository then follow this guide that Github provides: Cloning a Repository
If you run into any issues, or need us to make any manual adjustments to your registration, please let us know via Ed Discussion.
Programming Problem: Grayscaling an Image
For this homework, you will implement a CUDA program that will take a PNG image and convert it to a grayscale representation. To help you get started, we have provided the code that
Includes a function that reads in a png file and returns a flatten 1D array of pixels along with the image width and height (see
png_flatten_loadinsidehw2/png_flatten.h).Includes a host side function,
image_to_grayscale(insidehw2/grayscale.cu) that converts the flatten image of pixels to grayscale.Includes a main file (i.e.,
grayscale.cu) that takes in two arguments: an input and output png file. The program loads in the input png file, converts it to grayscale, and saves it to output file path (seepng_flatten_saveinsidehw2/png_flatten.h).
For the remainder of assignment, you will augment the grayscale.cu and write code to perform timing measurements on your program.
Task 0: Understanding, Compiling, and Running the Starter Code
Make sure you fulling understand how to use the provided starter code files
grayscale.cupng_flatten.hpng_flatten.c
The flatten array (i.e., unsigned char *image inside grayscale.cu ) places all pixels adjacent to each other. Since each pixel is composed of 4 components (RGBA), the start of a new pixel in the array is offset by 4. You can see how to access each pixel by looking over the image_to_grayscale function and how it performs grayscaling. Do not modify the files png_flatten.h and png_flatten.c! These files are provided to help with easily loading, and saving png files. For this assignment, you must use a flatten version of the png file.
Compiling and Running
We have provided a Makefile to easily compile and generate your CUDA program named grayscale. Update the sbatch script file named hw2-job.sh with information about your directory structure and CNet credentials (similar to the hw1) and sbatch the script.
$ sbatch hw2-job.sh
The script builds and executes the grayscale program on a GPU partition. The grayscale program uses the provided test file test_img.png to produce a grayscale version that is saved to the test_img_out.png file. If you logged into the server using Visual Studio Code you should be able to code test_img_out.png to see the grayscaled image.
Task 1: Implement a GPU Version
Inside grayscale.cu, implement code that performs grayscaling on the GPU. Call your kernel image_to_grayscale_kern. Your goal is to ensure you are utilizing the GPU efficiently based on using the image data along querying the GPU capabilities to determine the grid and block dimensions. You will need to think about how you will map CUDA’s thread execution model (i.e., how to assign threads to pixels). This is the challenge of the assignment so you will be on your own for this portion. However, feel free to ask general questions on Ed or during office hours about the execution model.
Verifying Correctness
To test your implementation, implement a function verify_gpu_results that uses the image_to_grayscale function to verify that the GPU’s output matches the expected output produced by image_to_grayscale. You can determine the function arguments and return type for this function. The main goal of is to make sure your GPU code is working as expected.
Here is a link to test-images that comes from Professor Samuels’s Parallel Programming class.
HW2 Image Data : There should be a download arrow icon on the left side to download the zip folder.
Only look at the images inside the in directory. You can ignore every other directory and files as it does not pertain to this assignment. DO NOT COMMIT THIS DIRECTORY TO YOUR REPOSITORY. These are very large files and committing this directory will result in a penalty!
Task 2: Timing Tests
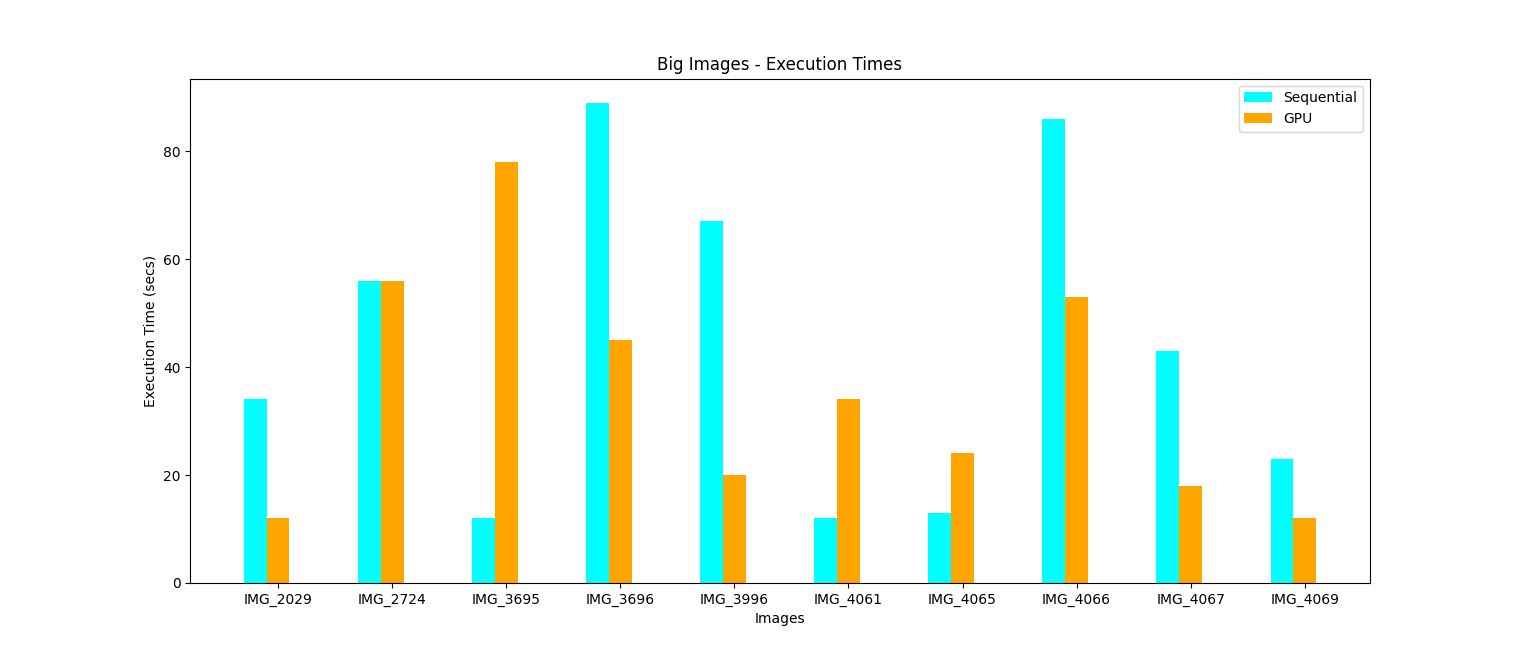
For this assignment, we will only look at the computational speedup and not the speedup of the overall program. We will time the execution of image_to_grayscale (host) and image_to_grayscale_kern (GPU). We will use the data/big and data/small directories provided in Task 1 as our testing data. Please ignore mixture as we will not use it for this task. You will produce two execution bar graphs for data/big and data/small. The x-axis will represent the image files in those directories. For each image on the x-axis, it should show sequential compared to gpu execution time. Each directory has 10 image files; therefore, each graph should have 20 bar plots. The y-axis represents the execution time for that specific image. The below graph provides a visual of what your graph should resemble.
Note
This graph uses fake data! These are not actual timings for the files. We are only showing you the graph for visual purposes.
You must generate the speedup graphs using a sbatch script named generate_graphs.sh. This means you cannot hand generate the graphs. We should be able to run sbatch generate-graphs.sh with us just changing the SBATCH configuration settings and the graphs should be produced. You can generate the graphs using gnu-plot, python script, java, etc.
Here a few additional requirements:
You will observe that timings vary a little bit each time you run your program. Please run every experiment at least 10 times, and use the average time from those runs.
Make make sure to title the graph, and label each axis. Make sure to adjust your y-axis range so that we can accurately see the values. That is, if most of your values fall between a range of [0,1] then don’t make your range [0,14].
The names for each graph file will be the name of the data directory versions (i.e.,
execution-small.pngandexecution-big.png).The script that generates teh graphs must be a file called
generate-graphs.shthe
generate-graphs.shscript so that it contains all commands (or calls another script that does) to reproduce your timings and your plot, i.e. the experiment should be fully automated with just calling the script as:sbatch generate-graphs.sh
README.md file
Inside the hw2/README.md file, provide explanation on your results. Focus on answering the following:
Where are you getting speedups in your graphs and why?
What areas are you not getting a speedup and why?
What affect does the grid and block sizes have on the performance your GPU implementation?
One-two paragraphs is sufficient for answering these questions.
Grading
Programming assignments will be graded according to a general rubric. Specifically, we will assign points for completeness, correctness, design, and style. (For more details on the categories, see our Assignment Rubric page.)
The exact weights for each category will vary from one assignment to another. For this assignment, the weights will be:
Task 1: 50%
Task 2: 50%
Submission
Before submitting, make sure you’ve added, committed, and pushed all your code to GitHub. You must submit your final work through Gradescope (linked from our Canvas site) in the “Homework #2” assignment page via two ways,
Uploading from Github directly (recommended way): You can link your Github account to your Gradescope account and upload the correct repository based on the homework assignment. When you submit your homework, a pop window will appear. Click on “Github” and then “Connect to Github” to connect your Github account to Gradescope. Once you connect (you will only need to do this once), then you can select the repository you wish to upload and the branch (which should always be “main” or “master”) for this course.
Uploading via a Zip file: You can also upload a zip file of the homework directory. Please make sure you upload the entire directory and keep the initial structure the same as the starter code; otherwise, you run the risk of not passing the automated tests.
Note
For either option, you must upload the entire directory structure; otherwise, your automated test grade will not run correctly and you will be penalized if we have to manually run the tests. Going with the first option will do this automatically for you. You can always add additional directories and files (and even files/directories inside the stater directories) but the default directory/file structure must not change.
Depending on the assignment, once you submit your work, an “autograder” will run. This autograder should produce the same test results as when you run the code yourself; if it doesn’t, please let us know so we can look into it. A few other notes:
You are allowed to make as many submissions as you want before the deadline.
Please make sure you have read and understood our Late Submission Policy.
Your completeness score is determined solely based on the automated tests, but we may adjust your score if you attempt to pass tests by rote (e.g., by writing code that hard-codes the expected output for each possible test input).
Gradescope will report the test score it obtains when running your code. If there is a discrepancy between the score you get when running our grader script, and the score reported by Gradescope, please let us know so we can take a look at it.